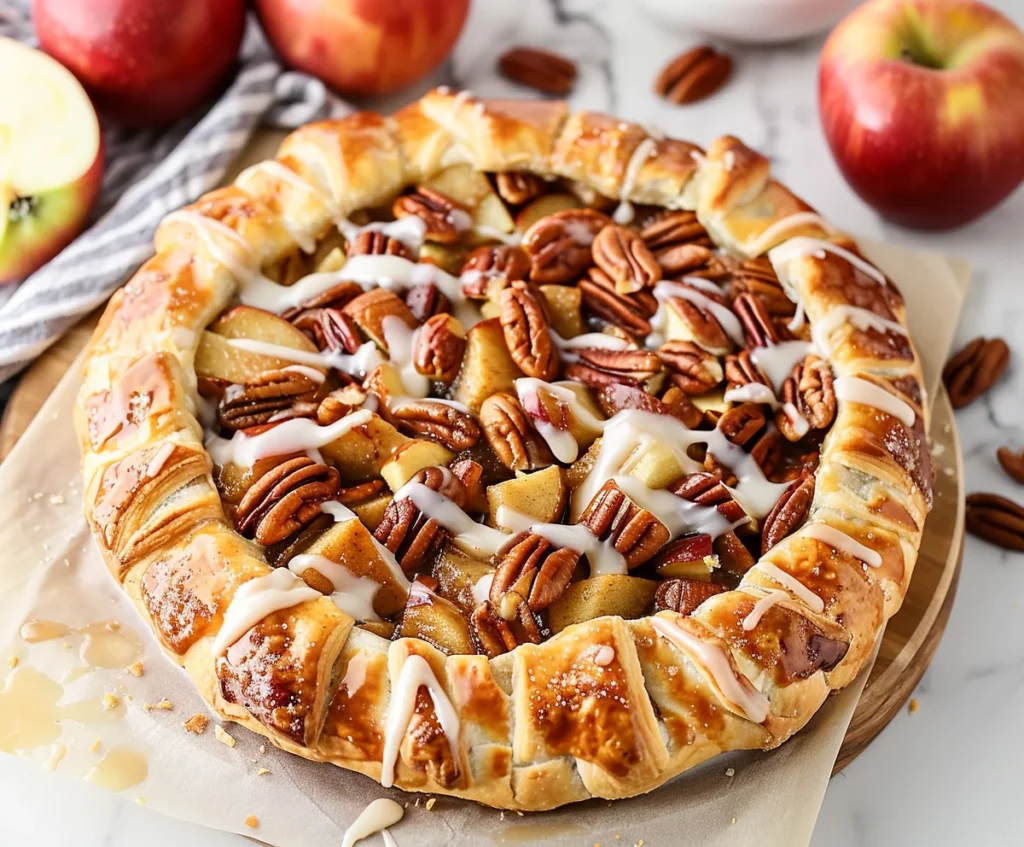
The Apple Pecan Tart is a delightful dessert that showcases the perfect harmony of flavors and textures. With its buttery, flaky puff pastry, spiced apple filling, and crunchy toasted pecans, this tart is a treat that suits any occasion. Whether you’re hosting a festive celebration, entertaining guests, or simply indulging in a cozy evening at home, this dessert stands out as a show-stopping centerpiece. Its versatility adds to its charm—served warm with a dollop of whipped cream or a scoop of vanilla ice cream, or enjoyed on its own, the Apple Pecan Tart is sure to leave a lasting impression.
Crafting this tart may seem complex, but with simple ingredients and clear instructions, it becomes a rewarding process. From the golden-brown crust to the spiced apple filling and glossy glaze, every bite offers a delightful balance of textures and flavors. This guide walks you through every step, ensuring that your Apple Pecan Tart turns out to be a show-stopping centerpiece that everyone will love.
Table of Contents
Ingredients Overview for the Ultimate Apple Pecan Tart
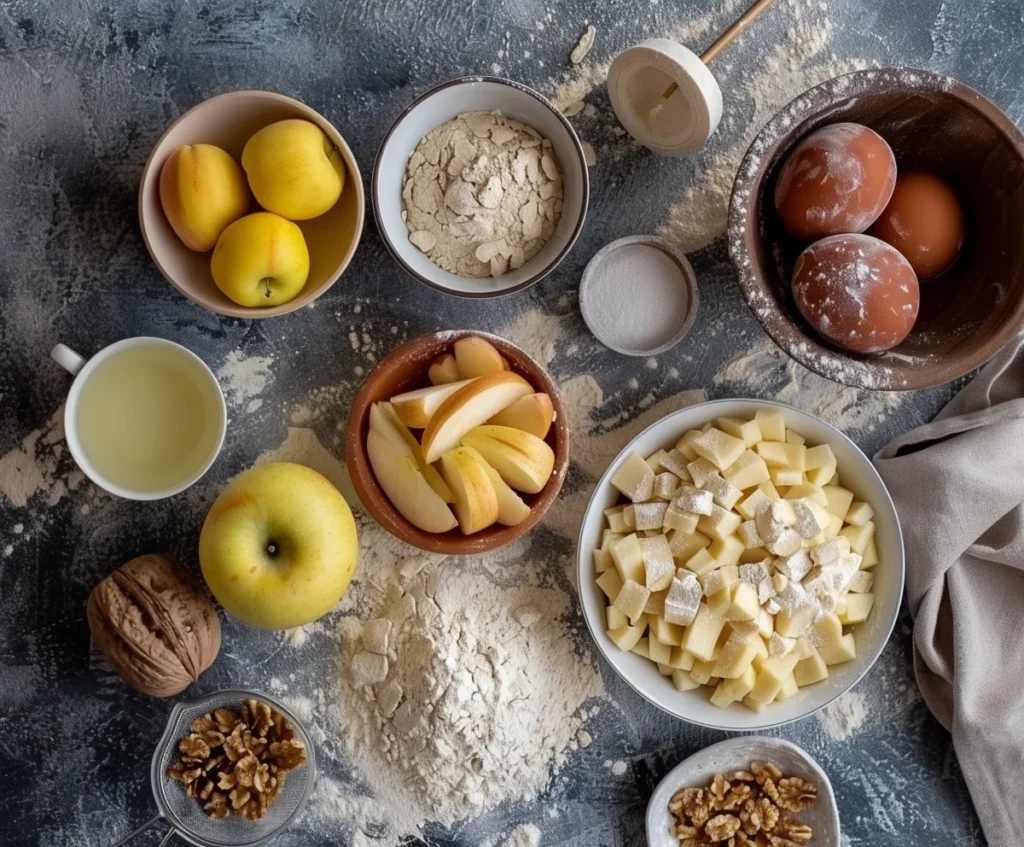
Creating the perfect Apple and Pecan Danish Pastry Tart requires a few key components: a flaky pastry base, a sweet and spiced apple-pecan filling, and a shiny glaze to tie it all together. Here’s a detailed breakdown of what you’ll need to get started.
Pastry Dough
The foundation of this tart is a buttery, tender pastry that bakes to golden perfection. You will need:
- 2 cups (250g) plain flour (plus extra for dusting)
- 1/2 teaspoon (2g) salt
- 1 cup (225g) cold unsalted butter, cubed
- 1/2 cup (120ml) ice water
Filling
The filling blends the sweetness of apples with the nutty crunch of pecans and a hint of warm spices:
- 4 large apples, peeled, cored, and thinly sliced
- 1/2 cup (100g) chopped pecans
- 1/2 cup (100g) granulated sugar
- 1/4 cup (60ml) lemon juice
- 1 teaspoon (5g) ground cinnamon
- 1/4 teaspoon (1g) ground nutmeg
Glaze
A simple glaze adds a touch of sweetness and a glossy finish:
- 1 cup (120g) confectioners’ sugar
- 1 tablespoon (15ml) milk
- 1/2 teaspoon (2g) vanilla extract
With your ingredients ready, you’re all set to begin crafting this show-stopping tart.
Preparing the Pastry Dough for Your Apple Pecan Tart
The key to a truly exceptional Apple and Pecan Danish Pastry Tart lies in the flaky, buttery pastry dough. While it may seem intimidating, following these steps carefully will ensure success.
1. Combine the Dry Ingredients
- In a large bowl, mix 2 cups of plain flour and 1/2 teaspoon of salt.
- Stir to distribute the salt evenly through the flour.
2. Incorporate the Butter
- Add 1 cup of cold, cubed unsalted butter into the flour mixture.
- Use your hands or a pastry cutter to rub the butter into the flour until the mixture resembles coarse breadcrumbs. The small chunks of butter will create the flaky layers.
3. Add the Ice Water
- Gradually pour in 1/2 cup of ice water, mixing as you go, until the dough starts to come together. Avoid overworking the dough to maintain its light texture.
4. Roll and Fold the Dough (Lamination)
- Roll the dough out into a rectangle on a lightly floured surface.
- Fold the dough into thirds like a letter, turn 90 degrees, and roll it out again.
- Repeat this process three times, chilling the dough in the refrigerator for 30 minutes between folds. This step creates the distinct layers characteristic of puff pastry.
5. Chill
- After the final fold, wrap the dough in plastic wrap and let it rest in the refrigerator for at least 2 hours.
Pro Tip: Work quickly to keep the butter cold, as this ensures that the layers puff up beautifully during baking.
With your pastry dough prepared, you’re ready to move on to the filling!
Preparing the Apple and Pecan Filling for an Authentic Apple Pecan Tart
The filling is the heart of the Apple and Pecan Danish Pastry Tart, bringing together the sweet, spiced apples and the nutty richness of pecans. Here’s how to prepare it step by step:
1. Prepare the Apples
- Peel, core, and slice the apples thinly to ensure even cooking during baking.
- Use tart apple varieties like Granny Smith or Honeycrisp for the best balance of flavor and texture.
2. Toast the Pecans
- Lightly toast 1/2 cup of chopped pecans in a dry skillet over medium heat for 3–5 minutes, stirring frequently. This step enhances their nutty aroma and flavor.
3. Combine the Ingredients
- In a large mixing bowl, add:
- The sliced apples
- The toasted pecans
- 1/2 cup of granulated sugar
- 1/4 cup of lemon juice
- 1 teaspoon of ground cinnamon
- 1/4 teaspoon of ground nutmeg
- Toss the ingredients together until the apples and pecans are evenly coated in the sugar and spices.
4. Optional Step: Pre-Cook the Filling
- To prevent the tart from becoming soggy, you can lightly sauté the apple mixture in a skillet over medium heat for 5 minutes. This reduces moisture while intensifying the flavors.
With the filling ready, you’re one step closer to assembling your tart! The combination of toasted nuts and warm spices ensures every bite is bursting with flavor. Let’s move on to the assembly process.
Assembling the Perfect Apple Pecan Tart
Now that your pastry dough and apple-pecan filling are ready, it’s time to bring everything together. Assembling the tart is straightforward and allows you to showcase its rustic elegance.
1. Roll Out the Dough
- Remove the chilled dough from the refrigerator and place it on a lightly floured surface.
- Roll it out into a 12-inch circle, approximately 1/8 inch thick.
- Transfer the rolled dough to a parchment-lined baking sheet.
2. Add the Filling
- Spoon the apple and pecan filling into the center of the dough, spreading it evenly.
- Leave a 1-inch border around the edges to allow for folding.
3. Fold and Shape the Edges
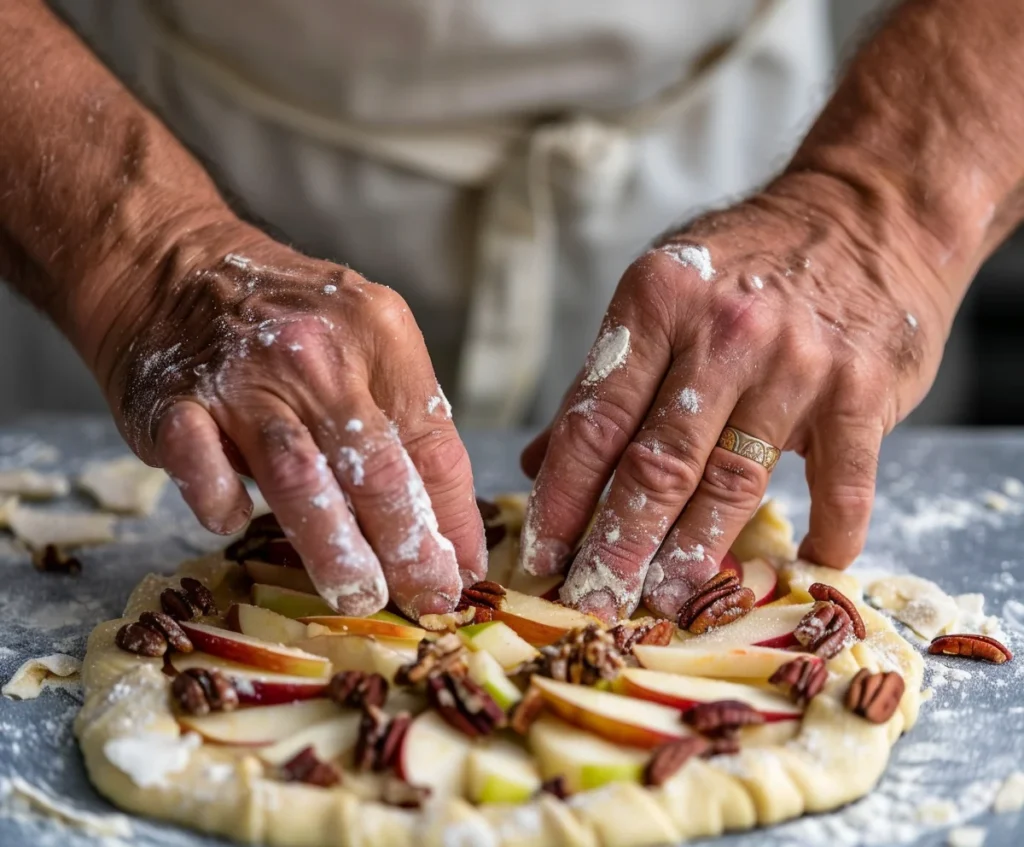
- Gently fold the edges of the dough over the filling, pleating as you go. This creates a rustic, free-form tart shape.
- Ensure the edges are well-pressed to prevent the filling from leaking during baking.
4. Prepare for Baking
- Brush the folded edges of the dough with melted butter to promote browning.
- Sprinkle the edges with a light coating of sugar for added texture and sweetness.
Optional: Add Decorative Touches
- For a festive look, sprinkle a few extra chopped pecans on top of the filling.
With the tart assembled, it’s ready to go into the oven. The rustic folds and golden crust will make this dessert as visually appealing as it is delicious. Let’s move on to the baking instructions
Baking the Apple Pecan Tart: A Step-by-Step Guide
With the tart assembled, it’s time to bake it to golden perfection. Follow these steps to ensure a perfectly cooked crust and bubbling filling.
1. Preheat the Oven
- Preheat your oven to 375°F (190°C) to ensure even baking.
2. Bake the Tart
- Place the assembled tart on the middle rack of the oven.
- Bake for 30–35 minutes, or until:
- The crust is golden brown and crisp.
- The filling is bubbling and aromatic.
3. Check for Donenes
- Use a fork or toothpick to gently test the edges of the pastry. It should feel firm and flaky, not doughy.
4. Cool the Tart
- Once baked, remove the tart from the oven and allow it to cool on the baking sheet for 10–15 minutes.
- Cooling slightly helps the filling set and makes it easier to drizzle the glaze.
Tip: Baking times may vary depending on your oven, so start checking the tart at the 30-minute mark to avoid overbaking
With the tart beautifully baked, let’s move on to the final touch: adding the glaze!
Adding the Finishing Glaze to Your Apple Pecan Tart
The glaze is the perfect finishing touch, adding a shiny, sweet layer that enhances the tart’s flavor and presentation. Here’s how to prepare and apply it:
1. Prepare the Glaze
- In a small bowl, whisk together:
- 1 cup (120g) confectioners’ sugar
- 1 tablespoon (15ml) milk
- 1/2 teaspoon (2g) vanilla extract
- Mix until the glaze is smooth and reaches a drizzle-like consistency.
- Tip: If the glaze is too thick, add more milk (a few drops at a time). If it’s too thin, add more confectioners’ sugar.
2. Drizzle the Glaze
- Once the tart has cooled slightly (but is still warm), use a spoon or a piping bag to drizzle the glaze over the top.
- Allow the glaze to run naturally for a rustic look, or create a crisscross pattern for a more decorative finish.
3. Let the Glaze Set
- Allow the glaze to set for 5–10 minutes before slicing and serving. This helps it adhere to the tart without being too sticky.
With the glaze in place, your Apple and Pecan Danish Pastry Tart is ready to serve. The glossy finish not only adds visual appeal but also enhances the sweetness, making each bite even more delightful.
Let’s explore how best to serve and enjoy your creation!
Serving Suggestions to Enhance Your Apple Pecan Tart Experience
Your Apple and Pecan Danish Pastry Tart is now complete, and it’s time to enjoy the fruits of your labor! Here are some serving ideas to make the experience even more special:
1. Serve Warm
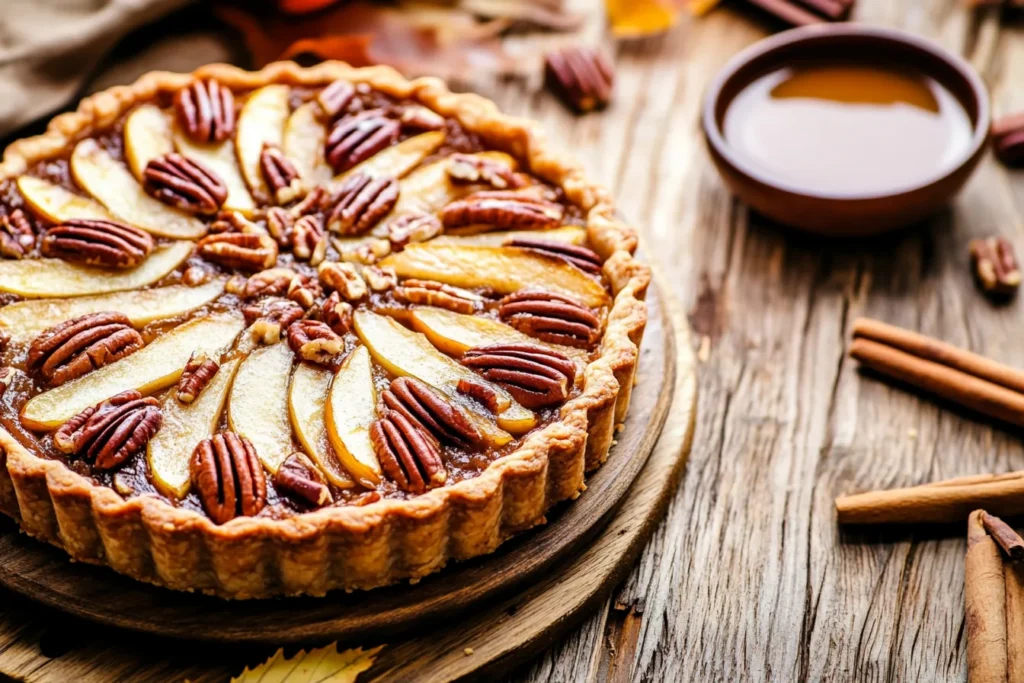
- For the best flavor and texture, serve the tart slightly warm. The flaky crust and gooey filling are most enjoyable when fresh out of the oven or gently reheated.
2. Pair with Topping
- Enhance the tart with complementary toppings:
- A scoop of vanilla ice cream for a creamy contrast.
- A dollop of whipped cream for a light and airy touch.
- A drizzle of caramel sauce for extra decadence.
3. Enjoy with Beverages
- Pair the tart with:
- A hot cup of coffee or tea for a cozy treat.
- A chilled glass of apple cider for a seasonal pairing.
4. Perfect for Any Occasion
- Serve as a centerpiece dessert for family gatherings, holiday celebrations, or dinner parties.
- Slice into smaller portions for a tea-time snack or casual indulgence.
Tip: If you have leftovers, store the tart in an airtight container at room temperature for up to 2 days, or refrigerate for up to 4 days. Reheat in the oven at 350°F (175°C) for a few minutes to restore its crispness.
With your tart beautifully presented and served, let’s wrap up this recipe with some helpful tips and variations!
FAQs: All Your Questions Answered About Apple Pecan Tart
1. What type of apples work best for this tart?
Firm and tart apples are ideal for this recipe. Varieties like Granny Smith or Honeycrisp hold their shape during baking and provide a nice contrast to the sweetness of the filling. If you prefer a sweeter flavor, Fuji or Gala apples can be used.
2. Can I use store-bought pastry instead of making it from scratch?
Absolutely! While homemade puff pastry delivers superior flavor and texture, store-bought puff pastry is a convenient alternative. Look for all-butter varieties for the best results.
3. How long can this tart be stored?
The tart can be stored in an airtight container at room temperature for up to 2 days. For longer storage, refrigerate it for up to 4 days. To enjoy it warm, reheat in an oven at 350°F (175°C) for a few minutes.
4. What can I use as a substitute for pecans?
If you don’t have pecans, you can use walnuts, almonds, or hazelnuts as substitutes. For a nut-free version, try using sunflower seeds or just stick to the apple filling.
5. Can this tart be made vegan or gluten-free?
Yes, with some adjustments:
– Use vegan butter for the pastry dough and glaze.
– Replace plain flour with a gluten-free flour blend suitable for baking.
– Ensure all other ingredients, like sugar and milk, are vegan-friendly.
6. Can I make this tart ahead of time?
Yes! Prepare the dough and filling in advance and store them separately in the refrigerator. Assemble and bake the tart fresh on the day you plan to serve it for the best results.
7. What is the best way to prevent a soggy crust?
To prevent a soggy crust, you can:
– Lightly pre-cook the apple filling to reduce moisture.
– Sprinkle breadcrumbs or crushed nuts on the pastry before adding the filling.
With these answers, you’re ready to troubleshoot and customize your tart to perfection!
Conclusion: Enjoy the Delicious Apple Pecan Tart
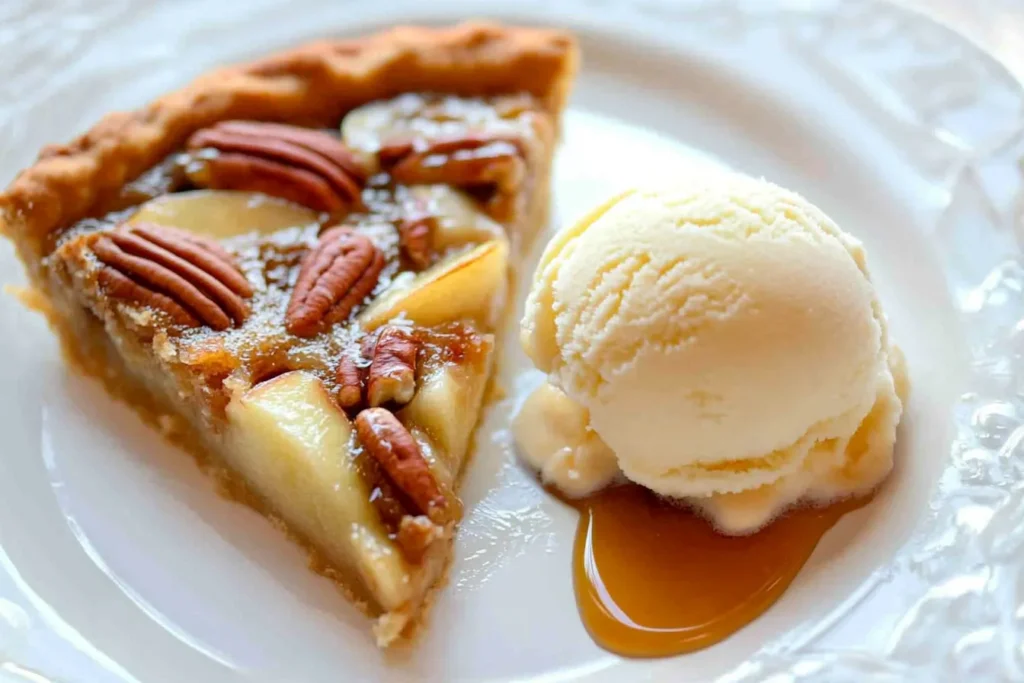
The Apple and Pecan Danish Pastry Tart is a dessert that seamlessly combines elegance and flavor. To begin with, the flaky, buttery pastry serves as the perfect base for the sweet and spiced apple filling. Furthermore, the addition of toasted pecans adds a delightful crunch, creating a well-rounded texture. Whether you’re preparing it for a celebration or a quiet evening at home, this tart is sure to impress.
By following the step-by-step instructions, you can easily recreate this visually stunning and delicious dessert. In addition, the helpful tips ensure that your tart will turn out beautifully, even if you’re new to baking. Moreover, the glaze offers a glossy finish, while the recipe’s flexibility allows you to explore variations and make it uniquely yours. For more inspiration on creative baking ideas, you might also enjoy exploring recipes like the Decadent Reese’s Caramel Cheesecake or whimsical creations such as Unicorn Cakes.
In conclusion, baking the Apple and Pecan Danish Pastry Tart is more than just preparing a dessert—it’s an experience that fills your kitchen with warm, inviting aromas. Ultimately, it’s a treat that brings joy and leaves your loved ones eagerly asking for seconds. So, why wait? Roll up your sleeves, gather your ingredients, and enjoy the process of creating this unforgettable dessert masterpiece.dessert.
